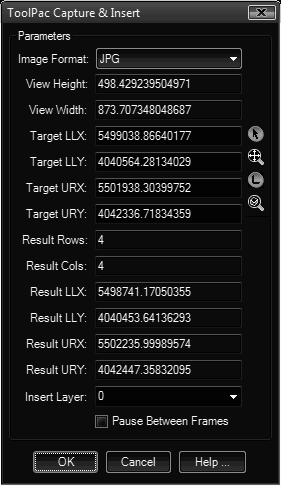
Captures the AutoCAD viewport (in tiles) and inserts the captures as an image object.
Keyboard Command: ImgCapIns

Procedure:
- Open the drawing containing the area to capture.
- Freeze any layers you don't want captured.
- Turn off floating palettes inside the viewports and other visual aids (see note).
- Zoom into any area to establish the zoom level (view height/width) used in the tiles.
- Use the select window, select extents, limits or object button to choose the area to capture.
- Adjust the target window values as desired.
- Choose additional options as desired.
- Click the button to begin processing.
Notes:
- In general the PNG format is recommended. If your viewport will contain primarily images, the JPG format creates smaller files.
- Before processing, you may want to consider turning off visual aids, such as:
- UCSICON OFF
- NAVBARDISPLAY 0
- NAVCUBE OFF
- VPCONTROL OFF
- IMAGEFRAME OFF
- The default target area is the limits of the existing geometry in the drawing.
- The resulting area captured in tiles will be slightly larger than the target area picked.
- You may need to turn on the Pause Between Frames toggle and wait for AutoCAD to finish generating the window.
- This tool cannot allow the entry of a new view height because the VIEWSIZE variable is read-only.